
I found this great tutorial for making a postage stamp quilt on Red Pepper Quilts blog. Her instructions were very simple, her photos are fantastic (much better than mine!). After reading through it, I thought...gosh that sounds very simple...and it was!
I did each step individually rather than as she suggested making a few blocks at a time. All my scraps are stored based on color, so I went through each box and cut strips. Counting each time so I made sure I had enough strips when I was done. I wanted to add an extra row on the bottom of the quilt to make mine a little larger then the tutorial suggested.
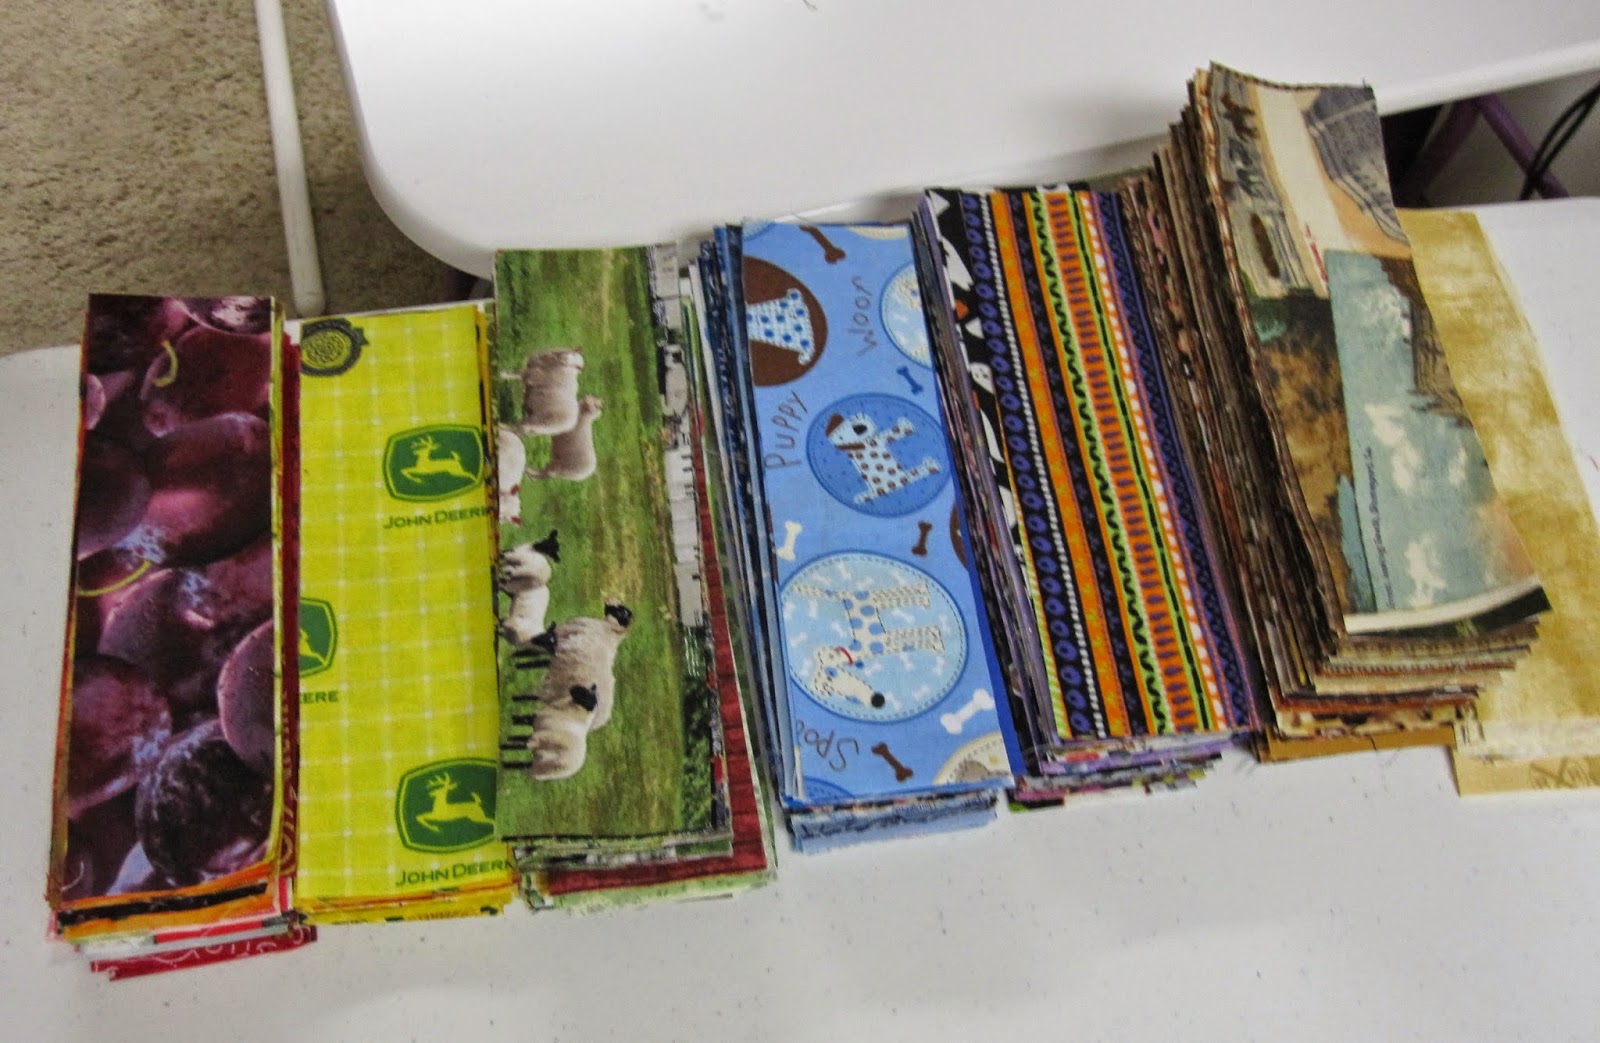 |
| cut strips |
Then I stitched two strips together until I had them all done. After pressing the seams I sewed all the double strips together making sure not to have duplicate fabrics connected.
 |
| sewn strips |
It is very important to make sure all your seams are pressed in the same direction. I then went through all these blocks and cut them down into 2" strips.

Then I took two of these cut blocks and sewed them together, again making sure that no two fabrics are alike.

I was luck to have a large variety of fabrics so I didn't run into to many duplicates, but I still had to pay attention sewing this two 8 patch block sections together to make the final 16 patch block.

Now laying out the blocks to sew my rows together was a bit challenging. Having a lot of different fabrics did help make this easier to manage. Had I not had a large variety I don't think I would have liked it as well. Again it was very important to make sure all your seams were going in the same direction in each row. This is explained very well in the tutorial and it does make putting everything together easier.
 | ||
| finished top |
Remember how I said I wanted to add an extra row to the top. Well my math was off and I ended up with enough blocks to make an extra row on the bottom and side! So mine is 10 blocks across and 10 down! Now I'm off to the quilt shop to get some batting and backing fabric!!
This was a fun quilt to put together...a great way to use up some scrapes...it went together with out any trouble.
Here are some close ups...


No comments:
Post a Comment